OBJECTIVES:
Students will:
1. define renewable, nonrenewable
and perpetual resources.
2. classify items as being made from
renewable or nonrenewable
resources.
3. identify four ways to conserve fossil
fuel, minerals, plants and animals.
STANDARDS: Science
SKILLS: Analysis,
classification, description,
problem solving
SETTING: Classroom
TIME: 50 minutes
VOCABULARY:
Conserve
Natural resources
Nonrenewable resources
Perpetual resources
Product
Renewable resources
Water cycle
Introduction
Overview:
In this lesson, students will learn
about renewable, nonrenewable
and perpetual natural resources
by looking at products made from
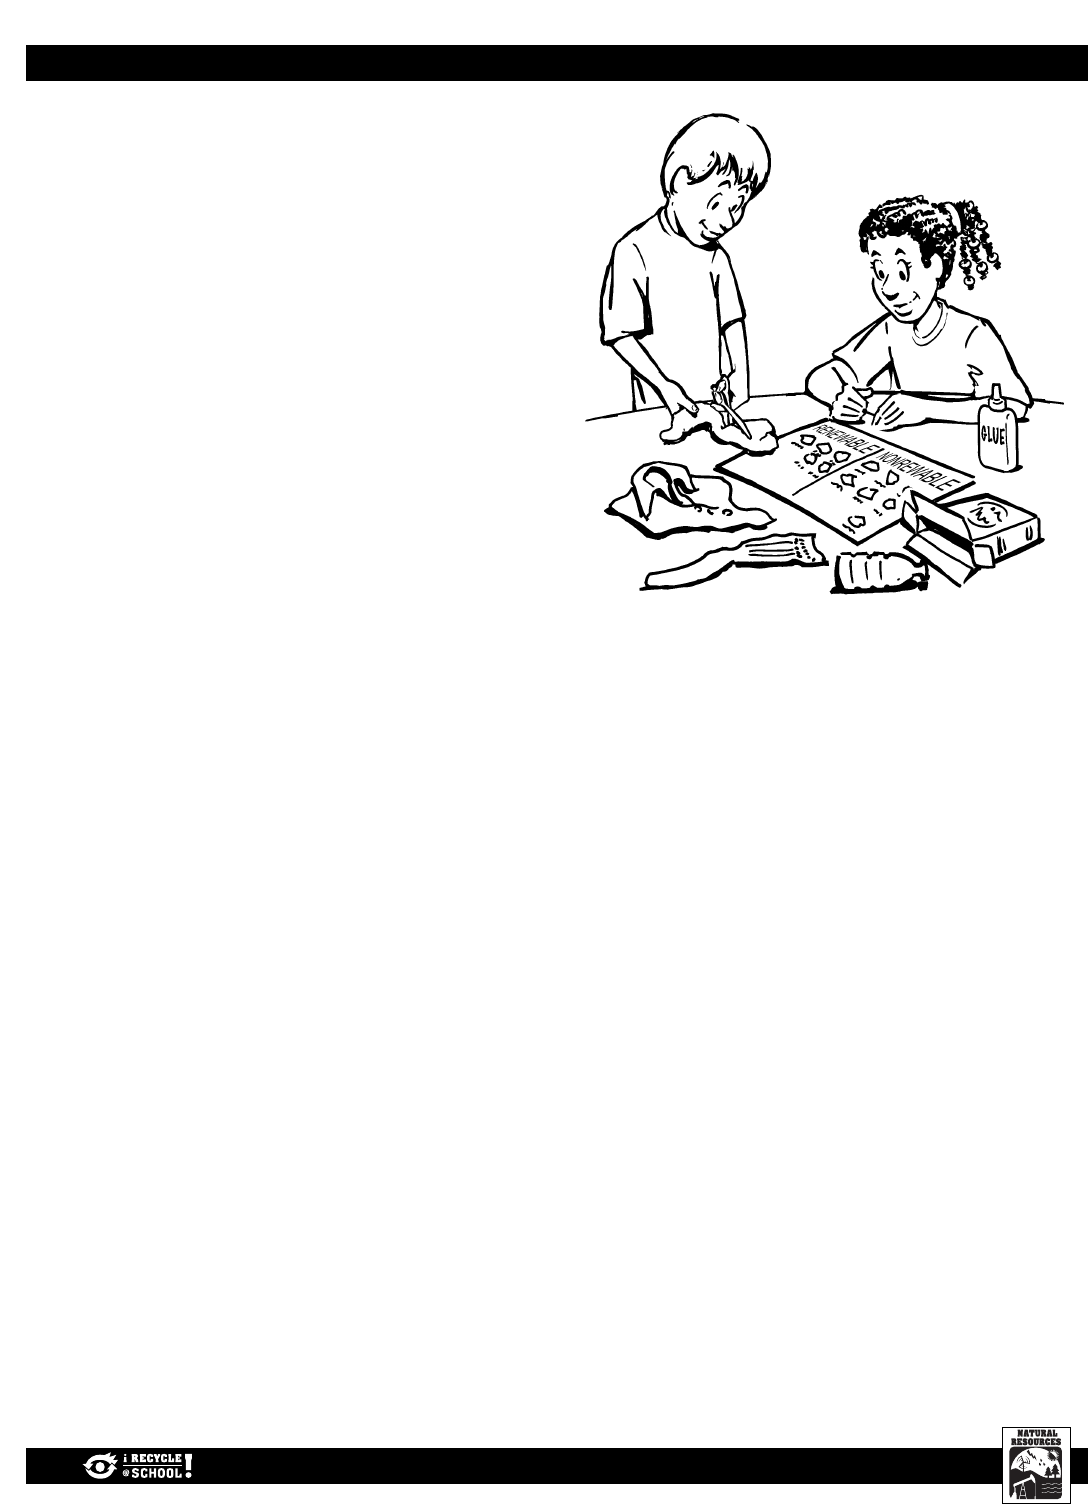
natural resources. They will work
in pairs to classify and group vari-
ous items as renewable, nonre-
newable, or perpetual resources.
Teacher Background:
Natural resources can be classified
as renewable, nonrenewable, and
perpetual. Resources are consid-
ered renewable if they can be
replenished within a relatively
short period of time. Nonrenew-
able resources must be considered
gone forever once used up
because they take millions of years
to regenerate. Oil is an example of
a nonrenewable natural resource.
Perpetual resources are forms of
naturally recurring energy
beyond human management,
such as energy from the sun.
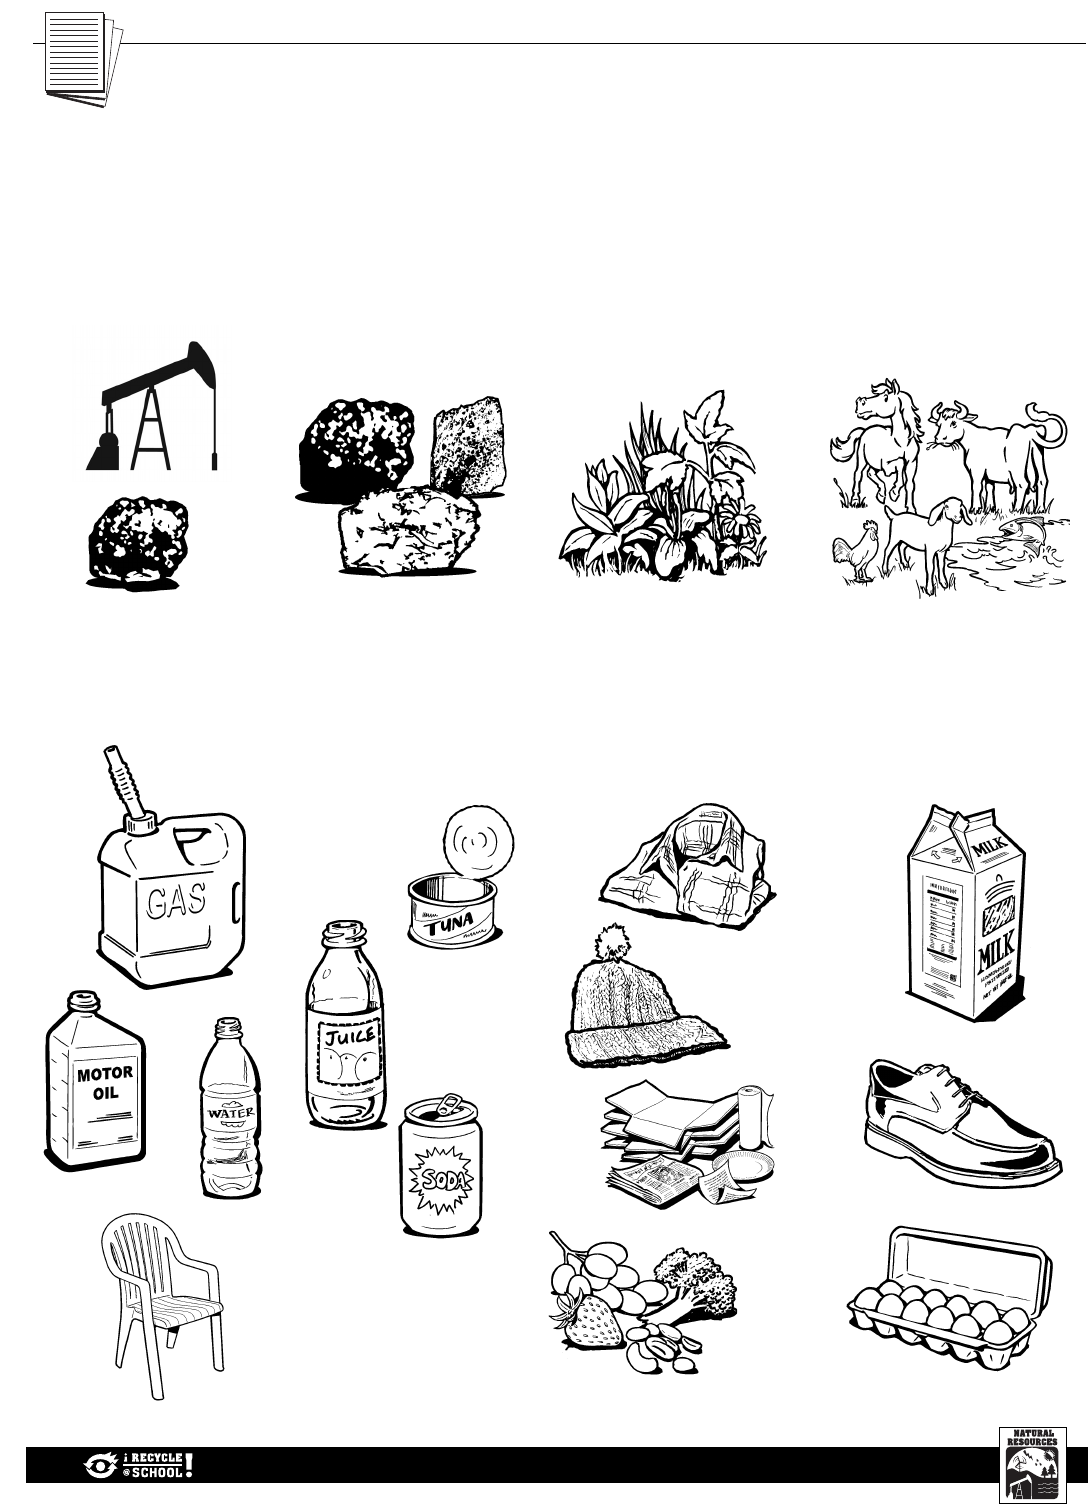
Natural resources are extracted
from the Earth to use in their exist-
ing form and often changed in form
during the manufacturing process,
which turns natural resources into
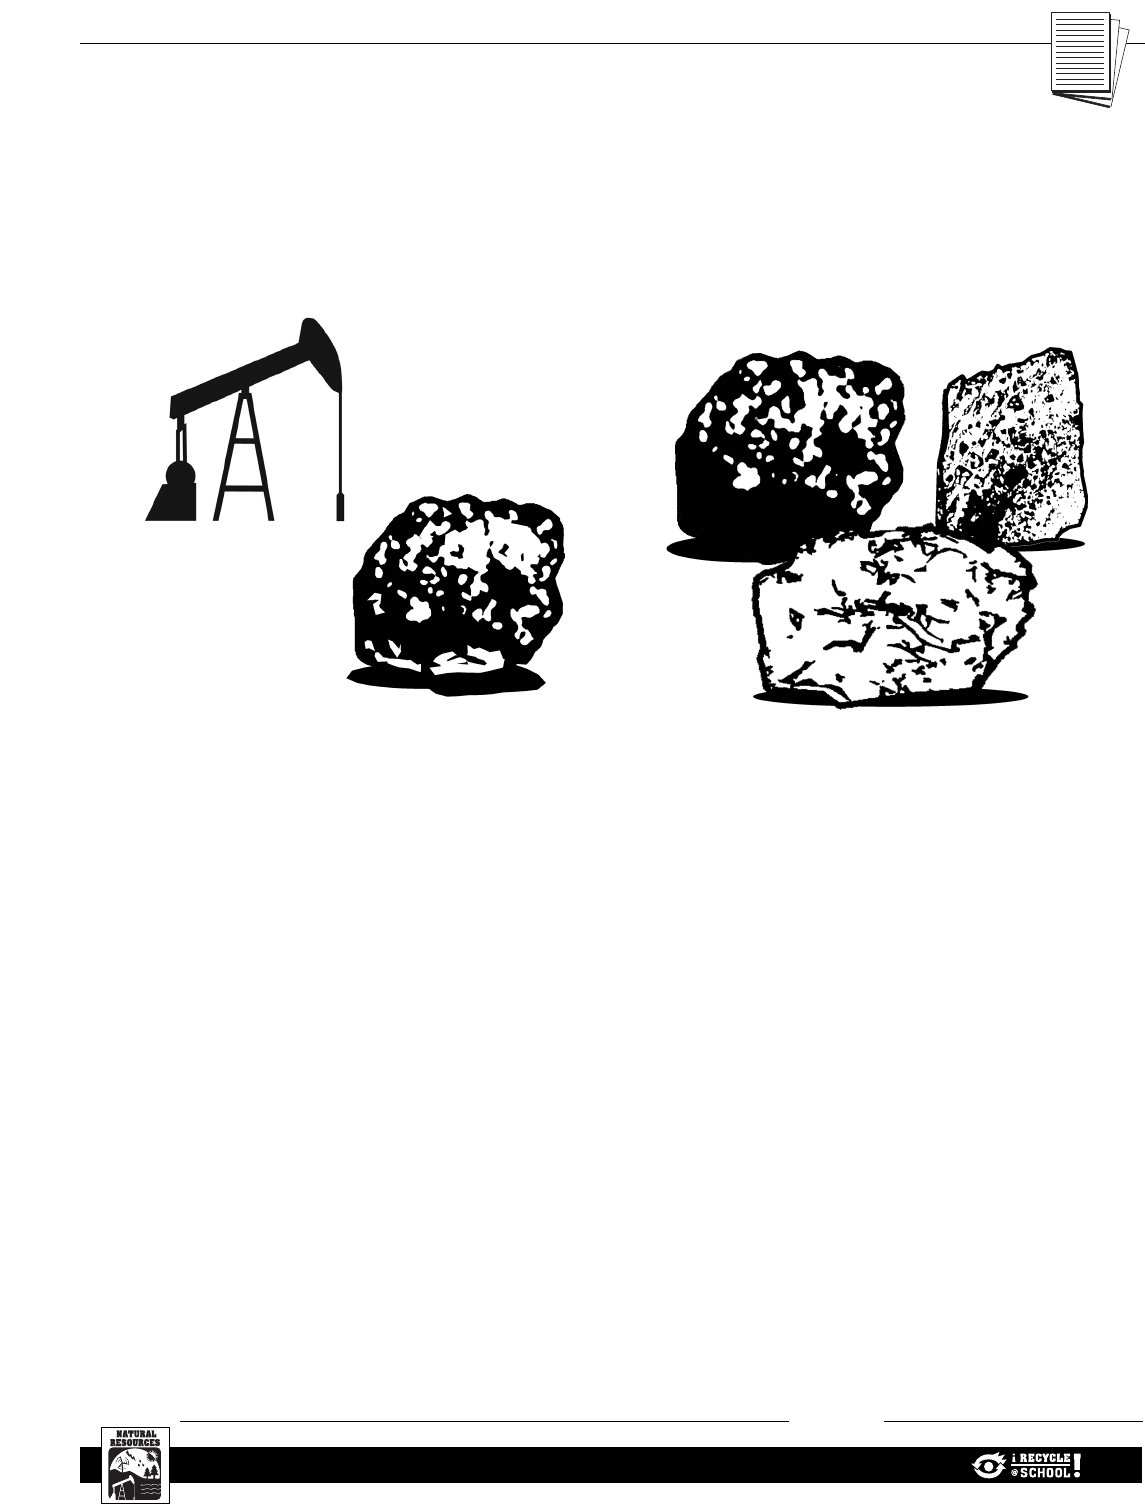
products. Fossil fuels include oil,
coal, and natural gas. Oil or petro-
leum is drilled and extracted from
the Earth. The resulting crude oil
is refined into hundreds of petrole-
um products including fuel for
cars. Minerals such as aluminum,
iron and silica are mined from the
Earth, extracted and used as com-
ponents in manufacturing products
such as aluminum, steel and glass.
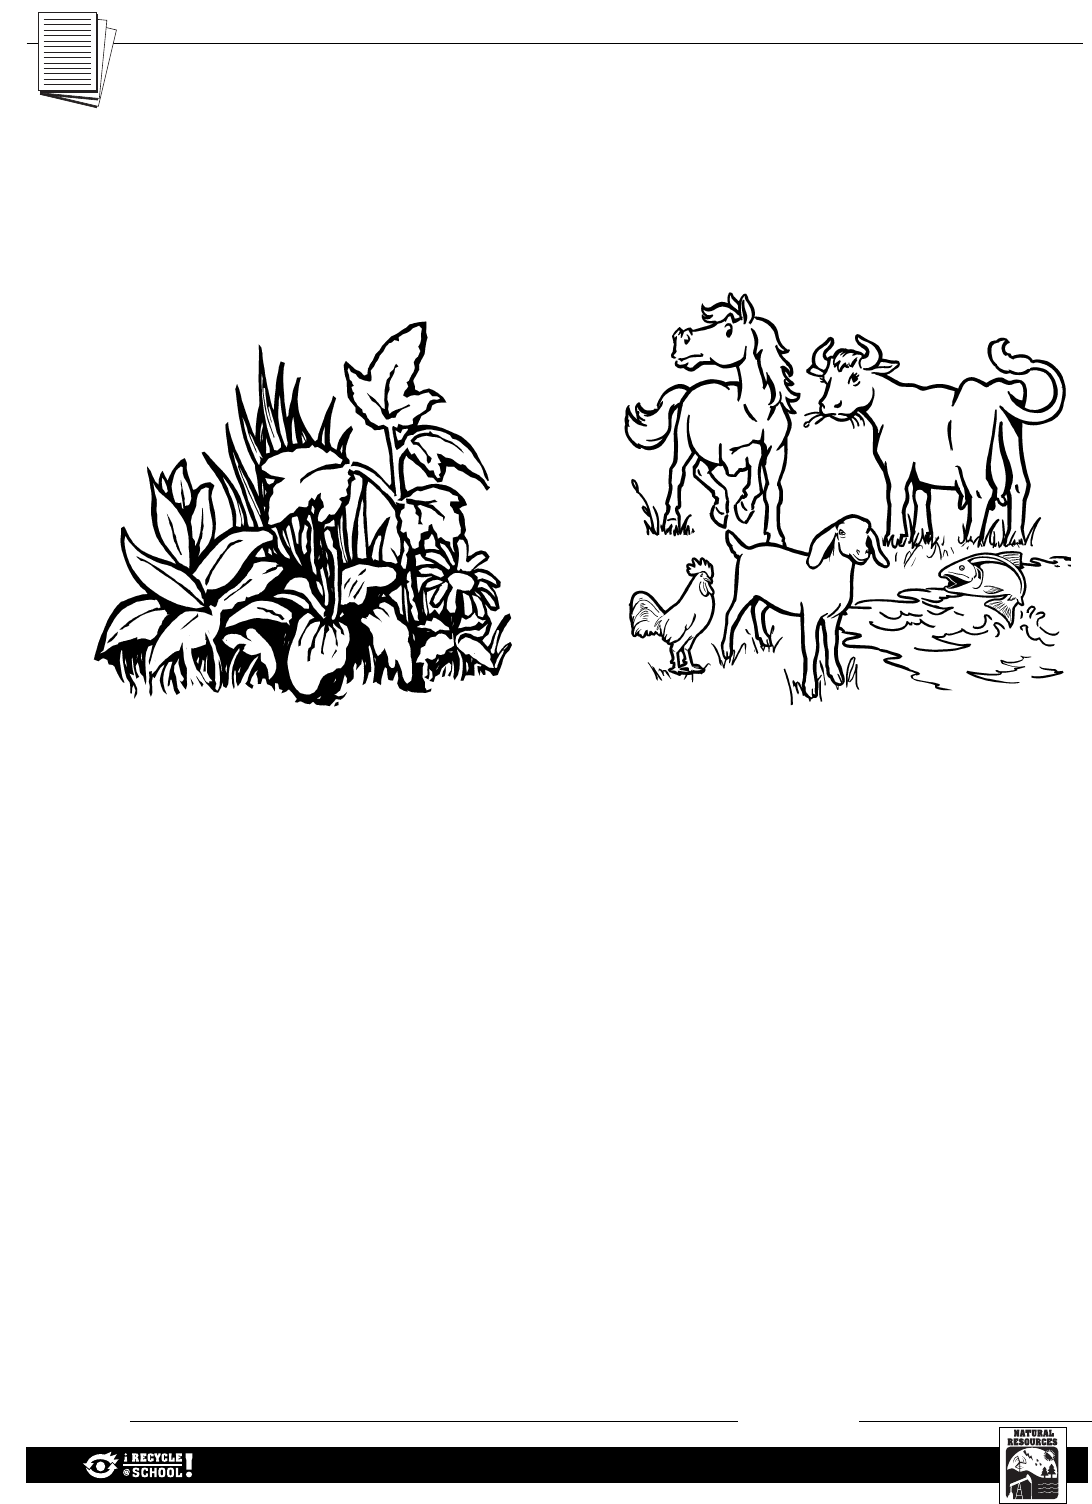
Plants are harvested as food crops,
as trees for wood and fiber,
or for horticultural purposes.
Animals can be kept as pets and
used as livestock, or the hides
of some animals can be used to
make leather for goods.
If we reduce, reuse, recycle and
compost materials, then we con-
serve valuable natural resources
that can be used again to pro-
duce new materials.
Materials:
Students:
❑ “Everyday Items” worksheet
(one per pair of students)
❑ “Renewable Resources” work-
sheet (one per pair of students)
❑ “Nonrenewable Resources”
worksheet (one per pair of
students)
❑ “Renewable or Nonrenewable?”
worksheet (one per student)
❑ Glue (one bottle per pair of
students)
❑ Scissors (one per pair of
students)
❑ Newspaper
(one sheet per student)
Teacher:
❑ A plastic container, aluminum
can, steel can, glass bottle,
apple, paper and leather belt
❑ “Natural Resources” overhead
❑ “Water Cycle” overhead
❑ Rubric overhead
❑ Rubrics (one per student)
Preparation:
Be prepared to put students in
pairs for part of the activity.
v
T
P
u
T
A
Renewable or Nonrenewable?
LESSON 1: RENEWABLE OR NONRENEWABLE? 1
ACTIVITY
2 LESSON 1: RENEWABLE OR NONRENEWABLE?
Discussion
1. Hold up the plastic container, aluminum can, steel can,
glass bottle, apple, paper, and leather belt.
2. Put up the “Natural Resources” overhead, and cover up the bot-
tom half (the pictures of the items). Tell the students that all
of these items are made from natural resources and that these
resources are either nonrenewable or renewable. Explain that
nonrenewable resources exist on Earth in limited amounts, e.g.,
fossil fuels (coal, oil, natural gas) and many minerals (e.g.,
iron, gold, and bauxite, the source of aluminum). Fossil fuels
are nonrenewable natural resources because they take millions
of years to form. Most minerals are also nonrenewable
resources. Explain that renewable resources are replaced natu-
rally or through human-assisted actions within a relatively short
amount of time, such as a human lifetime. For example, plants,
such as trees, can be replanted indefinitely.
3. Hold up the items, one at a time, and ask student volunteers
to classify them as made from a nonrenewable or renewable
resource. Uncover the rest of the overhead, and review the
items that were not discussed (i.e., gasoline, bike helmet,
etc.). Briefly explain how natural resources are taken from
the Earth and made into products.
4. Let students know that resources can also be classified
as perpetual resources. These are forms of naturally
recurring energy that are beyond human management,
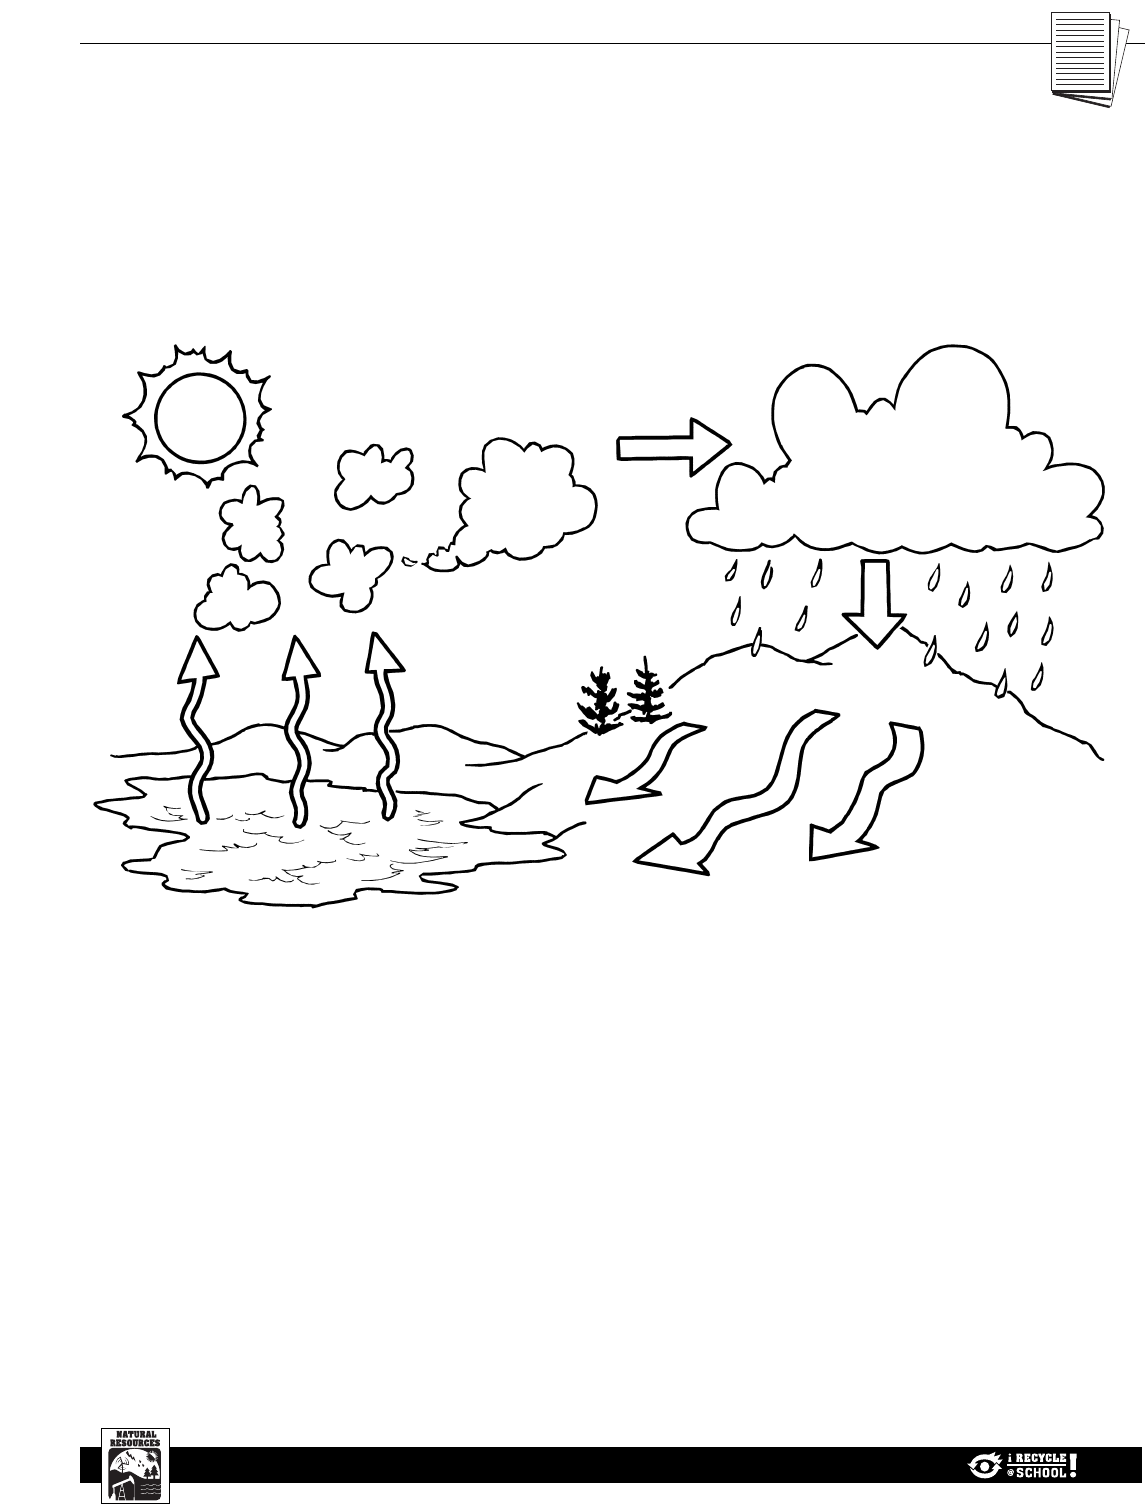
e.g., sun, wind, falling water, tides. Put up the “Water
Cycle” overhead, and explain how the water cycle is an
example of a perpetual resource.
5. Introduce the concept of conservation. Ask students
whether there are ways that they can use fewer resources.
Share one way that students can conserve natural resources.
For example, by riding a bike to school instead of driving
in a car, students can conserve fuel, which comes from a
nonrenewable resource.
6. Show an overhead of the lesson rubric, and review the
expectations for this lesson.
Procedure
1. Divide the class into pairs. Give each pair of students the
following worksheets: “Everyday Items,” “Renewable
Resources,” “Nonrenewable Resources.” Also give them a
pair of scissors, and glue.
2. Instruct each pair to cut out the items and classify them
by gluing them into one of the two possible categories:
renewable or nonrenewable resources.
3. Review with the whole class which items they classified as
renewable or nonrenewable resources.
Wrap-Up
1. Ask students what they think will happen to
nonrenewable resources if we continue using them.
(They will be depleted.)
2. Ask students whether they think renewable resources are
always available forever. Pass out one sheet of newspaper
to each student, and have them roll it up to represent a
tree. Put all of the “trees” together at the front of the class
to represent a forest. Ask the students what would happen
if they needed to cut down ten trees a year to provide
enough paper for their school but only five trees were
replanted each year (the natural resource will be depleted).
3. Ask the students to turn to a partner to brainstorm
some ways that they can conserve nonrenewable and
renewable resources. (Use less. Use renewable resources
instead, e.g., a paper bag in place of a plastic bag.
Reuse bags and recycle them.)
4. Pass out the “Renewable or Nonrenewable” worksheet,
assign students to name one item from each of the four
categories (fossil fuels, minerals, plants and animals) and
explain how they can conserve the natural resources.
Final Assessment Idea
Have students identify ten items in the classroom, writing
the natural resource used to produce the item and whether
the resource is renewable or nonrenewable.

RREESSOOUURRCCEESS
LESSON 1: RENEWABLE OR NONRENEWABLE? 3
Extensions:
Assign students to write a hypothetical story about a nonrenewable resource that has been depleted,
explaining why it was depleted (overused) and what alternative resources, if any, can be used in its place.
Using the Internet or school library, have students choose a natural resource that they would like to learn
more about and research the answers to questions such as:
• Is it renewable or nonrenewable?
• Where is it found (locate on a world map)?
• Are there any efforts currently underway to conserve this natural resource?
Have students research and identify the different elements that make up types of minerals, fossil fuels,
plants, animals and water using a periodic chart. Once they have identified the elements, ask students to
locate and check off the element on a periodic chart.
Teacher Materials:
California State Content Standards
The standards below represent broad academic concepts. This lesson provides connections to these
academic concepts through hands-on activities and exploration. This lesson is not designed for a student
to master the concepts presented in the standards. Additional lessons in the classroom that build on this
lesson or the standard(s) ensure that students will have the opportunity to master these concepts.
SCIENCE CONTENT STANDARDS
Grade 4 Life Science
3.a. Students know ecosystems can be characterized by their living
and nonliving components.
Grade 5 Earth Science
3.b. Students know that when liquid water evaporates, it turns into
water vapor in the air and can reappear as a liquid when cooled
or as a solid if cooled below the freezing point of water.
3.c. Students know water vapor in the air moves from one place to
another and can form fog or clouds, which are tiny droplets of
water or ice, and can fall to Earth as rain, hail, sleet or snow.
Investigation and Experimentation
6.a. Students will classify objects (e.g., rocks, plants, leaves)
in accordance with appropriate criteria.
Teacher
4 LESSON 1: RENEWABLE OR NONRENEWABLE?
Renewable or Nonrenewable Rubric
A rubric is a scoring tool that defines the criteria by which a student’s work will be evaluated.
This rubric is provided to assist you in setting expectations for students and assessing their performance
and engagement during the lesson based on specific tasks. Ideally, a rubric is developed with the cooper-
ation of the students. Two blank rows have been provided for you and your class to develop and add your
own assessment criteria.
CATEGORY 4 3 2 1
Classify items
into renewable
and
nonrenewable
All items
were correctly
classified.
Most of the
items were
correctly clas-
sified.
Some of the
items were
correctly
classified.
None of the
items were
correctly clas-
sified.
Identify ways
to conserve
natural
resources
All four items
were listed
under the
proper
categories
and had an
appropriate
explanation
of how to
conserve the
natural
resources.
Three items
were listed
under the
proper cate-
gory and had
an appropri-
ate explana-
tion of how
to conserve
the natural
resources.
Two items
were listed
under the
proper cate-
gory and had
an appropri-
ate explana-
tion of how
to conserve
the natural
resources.
Only one item
was listed
under the
proper cate-
gory and had
an appropri-
ate explana-
tion of how to
conserve the
natural
resources.
LESSON 1: RENEWABLE OR NONRENEWABLE? 5
Teacher
Evaporation
Runoff
Precipitation
Condensation
Water Cycle
Teacher
6 LESSON 1: RENEWABLE OR NONRENEWABLE ?
Natural Resources
NONRENEWABLE RENEWABLE
Fossil Fuels Minerals Plants Animals
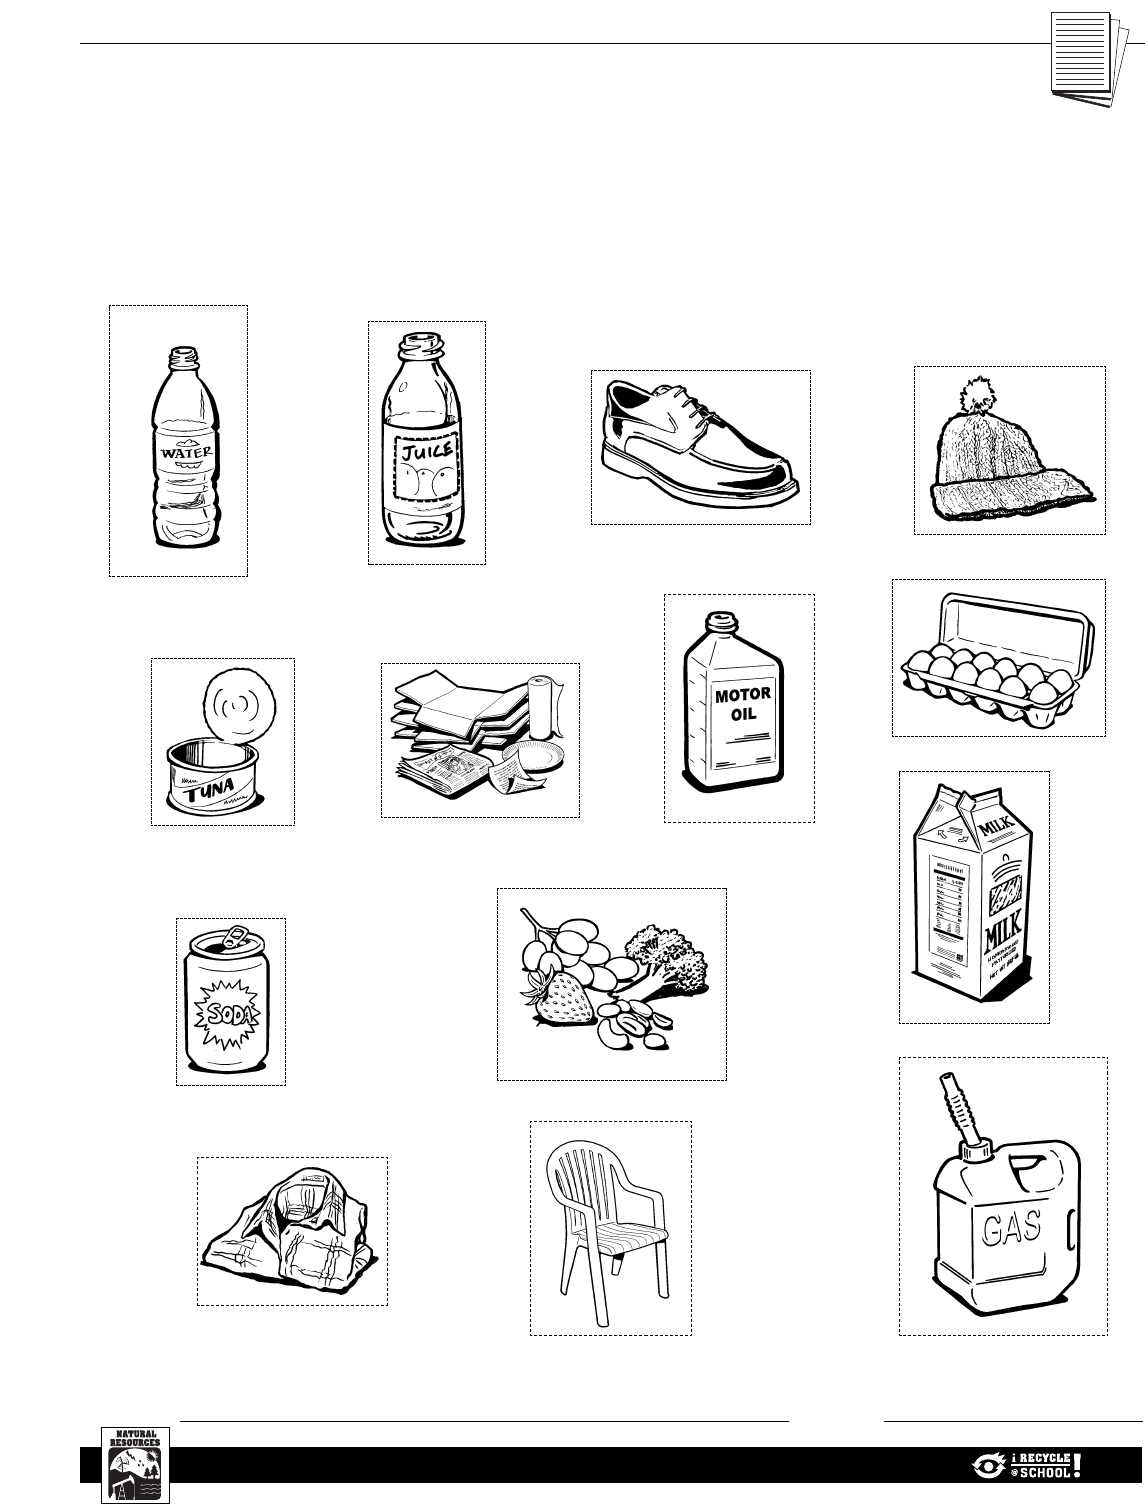
Everyday Items Made from Natural Resources
LESSON 1: RENEWABLE OR NONRENEWABLE? 7
Student
Name: Date:
Everyday Items
Directions: Cut out each item and decide whether it is made from a renewable or nonrenewable resource.
Student
8 LESSON 1: RENEWABLE OR NONRENEWABLE?
Renewable Resources
Directions: Glue examples of items made from renewable resources here.
PLANTS ANIMALS
Name: Date:
LESSON 1: RENEWABLE OR NONRENEWABLE? 9
Student
Name: Date:
Nonrenewable Resources
Directions: Glue examples of items made from nonrenewable resources here.
FOSSIL FUELS MINERALS
Name: Date:
Student
10 LESSON 1: RENEWABLE OR NONRENEWABLE?
Directions: Write the name of one item from each of the four natural resource categories
(fossil fuels, minerals, plants, animals), and explain how to conserve the natural resources
needed to produce it.
1a. Item made from fossil fuels:
1b. How can you conserve fossil fuel resources?
2a. Item made from minerals:
2b. How can you conserve mineral resources?
3a. Item made from plants:
3b. How can you conserve plant resources?
4a. Item made from animals:
4b. How can you conserve animal resources?
Renewable or Nonrenewable?

DEFINITIONS
LESSON 1: RENEWABLE OR NONRENEWABLE? 11
Vocabulary:
Conserve: to protect something
from harm or destruction.
Natural resources: living and
nonliving materials that come
from the Earth such as fossil
fuels, minerals, plants, animals,
water, air, sunlight, and other
forms of energy.
Nonrenewable resources:
minerals or sources of energy
that can be mined or collected
from the Earth, such as coal,
petroleum, iron ore, copper, etc.
The processes of their forma-
tion are so slow that these re-
sources may be considered gone
forever once they are used up.
Perpetual resources: forms of
naturally recurring energy that
are beyond human management,
e.g., sun, wind, falling water,
tides.
Product: something produced
by human or mechanical effort
or by a natural process.
Renewable resources: natu-
rally occurring raw materials or
form of energy that has the
capacity to replenish itself with-
in a relatively short amount of
time (e.g., a human lifetime)
through ecological cycles and
sound management practices,
e.g., trees, agricultural crops,
grasses.
Water cycle: sunlight evapo-
rates water that condenses to
clouds that produce rain that
falls on the land, flows to an
ocean or lake and evaporates
again. The water can flow
through other routes such as
through sand underground or
through an animal. The cycle
begins with evaporation and
ends with water returning to a
place for evaporation to occur
again.
